社区微信群开通啦,扫一扫抢先加入社区官方微信群

社区微信群
Web应用中权限管理是个很重要的部分。本文结合SpringBoot security和Jwt(Json Web Token)实现基于RBAC(Role-Based Access Control)的权限管理。ps:千万不要被这些新名词吓到。
SpringBoot security是SpringBoot提供的访问控制框架。参考链接
Role-Based Access Control 中文译义:基于角色的权限控制。可以简单理解为不同用户属于不同角色,而角色绑定了具体的权限或资源。给用户分配角色,则是对用户进行权限控制,在验证用户的时候,只需要获取用户角色,就能够了解到用户有没有相应权限。RBAC的使用简化了用户和权限的关系,方便扩展、易于维护。参考链接
项目依赖SpringBoot2.0.3、MySQL5.7、mybatis、jjwt0.9.0、tk.mybatis.mapper工具类、lombok工具类等。我这里引入工具类是为了方便开发。
        <dependency>
            <groupId>org.springframework.boot</groupId>
            <artifactId>spring-boot-starter-web</artifactId>
        </dependency>
        <dependency>
            <groupId>org.springframework.boot</groupId>
            <artifactId>spring-boot-starter-security</artifactId>
        </dependency>
        <dependency>
            <groupId>org.springframework.boot</groupId>
            <artifactId>spring-boot-starter-test</artifactId>
            <scope>test</scope>
        </dependency>
        <dependency>
            <groupId>org.springframework.security</groupId>
            <artifactId>spring-security-test</artifactId>
            <scope>test</scope>
        </dependency>
        <dependency>
            <groupId>org.mybatis.spring.boot</groupId>
            <artifactId>mybatis-spring-boot-starter</artifactId>
            <version>2.0.0</version>
        </dependency>
        <dependency>
            <groupId>mysql</groupId>
            <artifactId>mysql-connector-java</artifactId>
            <scope>runtime</scope>
        </dependency>
                <dependency>
            <groupId>tk.mybatis</groupId>
            <artifactId>mapper</artifactId>
            <version>4.0.3</version>
        </dependency>
        <dependency>
            <groupId>tk.mybatis</groupId>
            <artifactId>mapper-spring-boot-starter</artifactId>
            <version>2.0.4</version>
        </dependency>
		<dependency>
            <groupId>io.jsonwebtoken</groupId>
            <artifactId>jjwt</artifactId>
            <version>0.9.0</version>
        </dependency>
		<dependency>
            <groupId>org.springframework.boot</groupId>
            <artifactId>spring-boot-devtools</artifactId>
            <scope>runtime</scope>
        </dependency>
        <dependency>
            <groupId>org.projectlombok</groupId>
            <artifactId>lombok</artifactId>
            <optional>true</optional>
        </dependency>
-- 新建数据库jwt
create schema jwt;
use jwt;

-- 创建user表(用户表)
create table user
(
  id       int auto_increment
    primary key,
  username varchar(60)  not null comment '用户名',
  pw       varchar(255) not null comment '密码',
  contact  varchar(255) not null comment '联系方式',
  constraint user_contact_uindex
    unique (contact),
  constraint user_username_uindex
    unique (username)
)
  comment '用户表';

-- 创建role表(角色表)
create table role
(
  id   int auto_increment
    primary key,
  role varchar(30) not null comment '用户角色',
  constraint role_role_uindex
    unique (role)
)
  comment '用户角色表';
-- 新建admin、user角色
insert into role value (null, 'ROLE_ADMIN');
insert into role value (null, 'ROLE_USER');

-- 创建user_role表(用户角色关系表)
create table user_role
(
  id      int auto_increment
    primary key,
  user_id int not null comment '用户ID',
  role_id int not null comment '角色ID',
  constraint unique1
    unique (user_id, role_id)
)
  comment '用户角色关系表';
spring.datasource.driverClassName=com.mysql.jdbc.Driver
spring.datasource.url=jdbc:mysql://127.0.0.1:3306/jwt?characterEncoding=utf-8&autoReconnect=true&failOverReadOnly=false&useSSL=true
spring.datasource.username=root
spring.datasource.password=root
# 数据库下划线映射bean的驼峰
mybatis.configuration.map-underscore-to-camel-case=true
当导入spring-boot-starter-security的时候,所有的controller都已被security框架管理。在没有配置WebSecurityConfig的时候,访问接口时,会直接返回401或403状态码。下面我们需要编写WebSecurityConfig类继承WebSecurityConfigurerAdapter,让/test/下URL能够无需认证访问。
@Configuration
public class WebSecurityConfig extends WebSecurityConfigurerAdapter {

    @Override
    protected void configure(HttpSecurity http) throws Exception {

        // Disable CSRF (cross site request forgery)
        http.csrf().disable();

        // No session will be created or used by spring security
        http.sessionManagement().sessionCreationPolicy(SessionCreationPolicy.STATELESS);

        // Entry points
        http.authorizeRequests()
                .antMatchers("/test/**").permitAll() // test/**无需websecurity认证
                // Disallow everything else..
                .anyRequest().authenticated(); // 其他请求都需要认证

    }

}
上面antMatchers("/test/**").permitAll()说明了"/test/"下的url无需websecurity认证,其他的URL请求都需要认证。这个是重要的类,所以单独拿出来讲,下篇文章围绕这个类进行展开。具体内容请参考GitHub项目
具体请参考GitHub项目
我使用eolinker做接口管理,推荐给大家,能代替postman,团队协作也很方便。如果可以,希望大家可以使用我的推荐链接进行注册,没有做广告的意思,纯属觉得eolinker不错,哈哈。
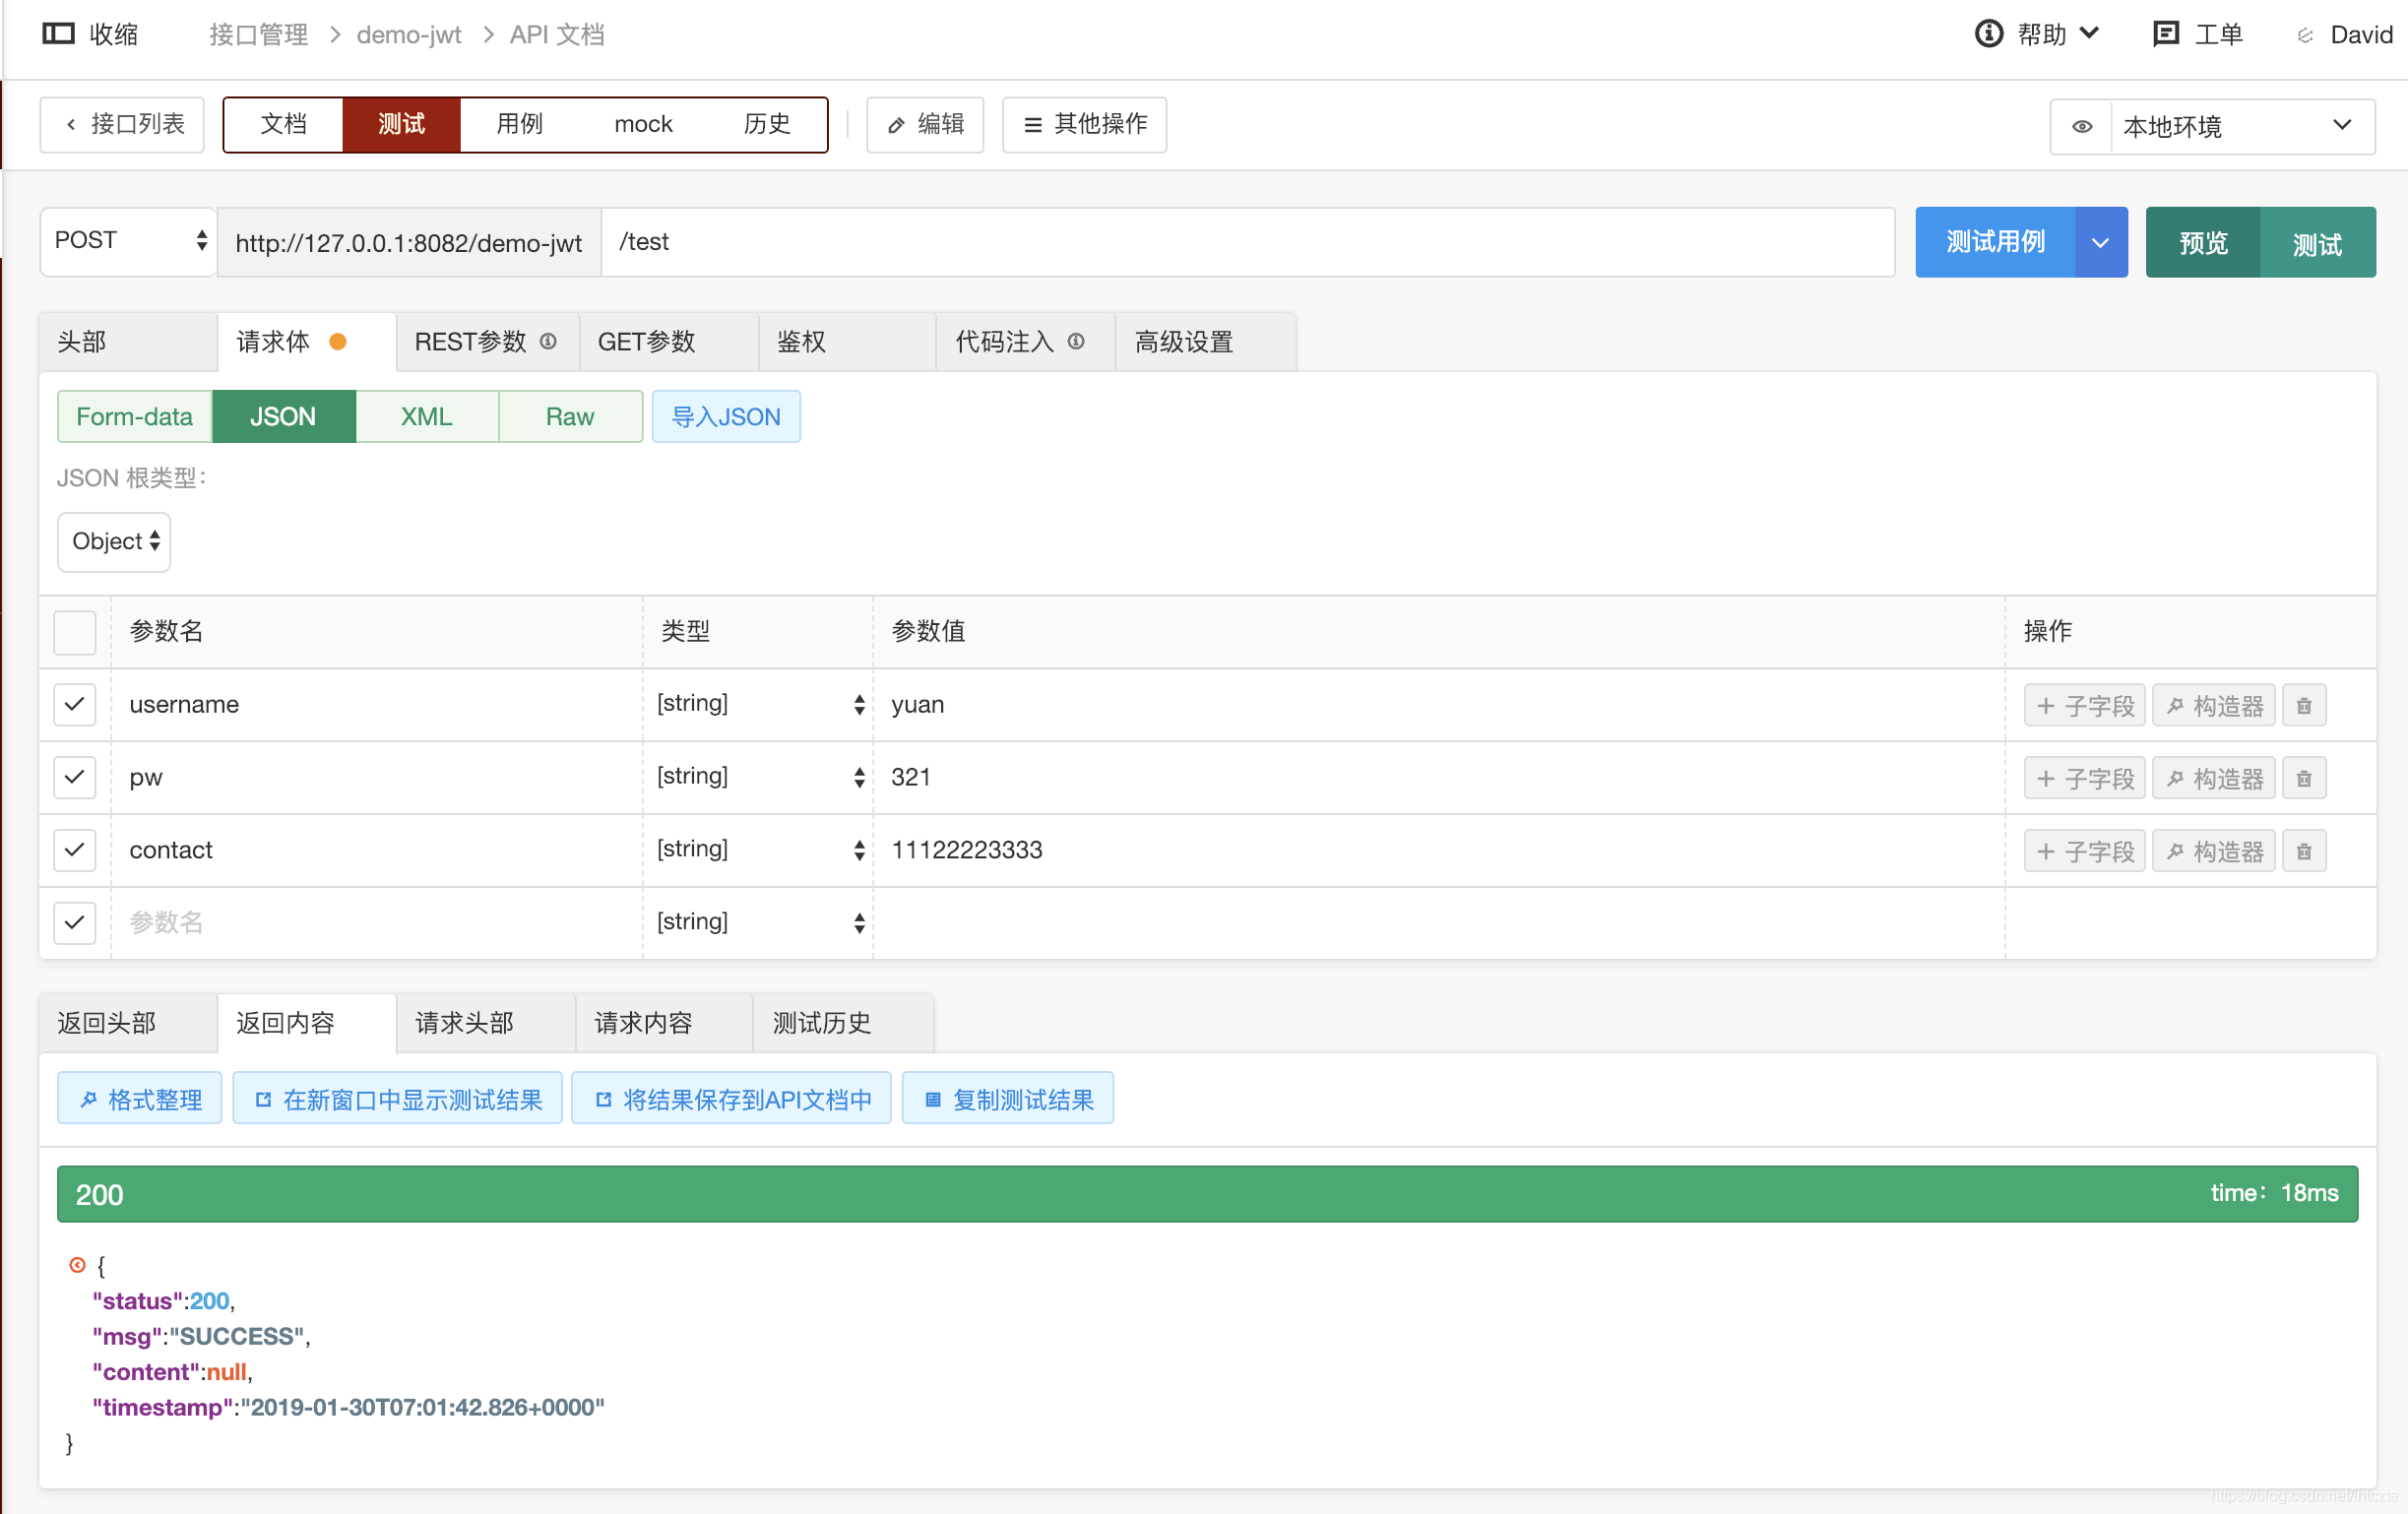
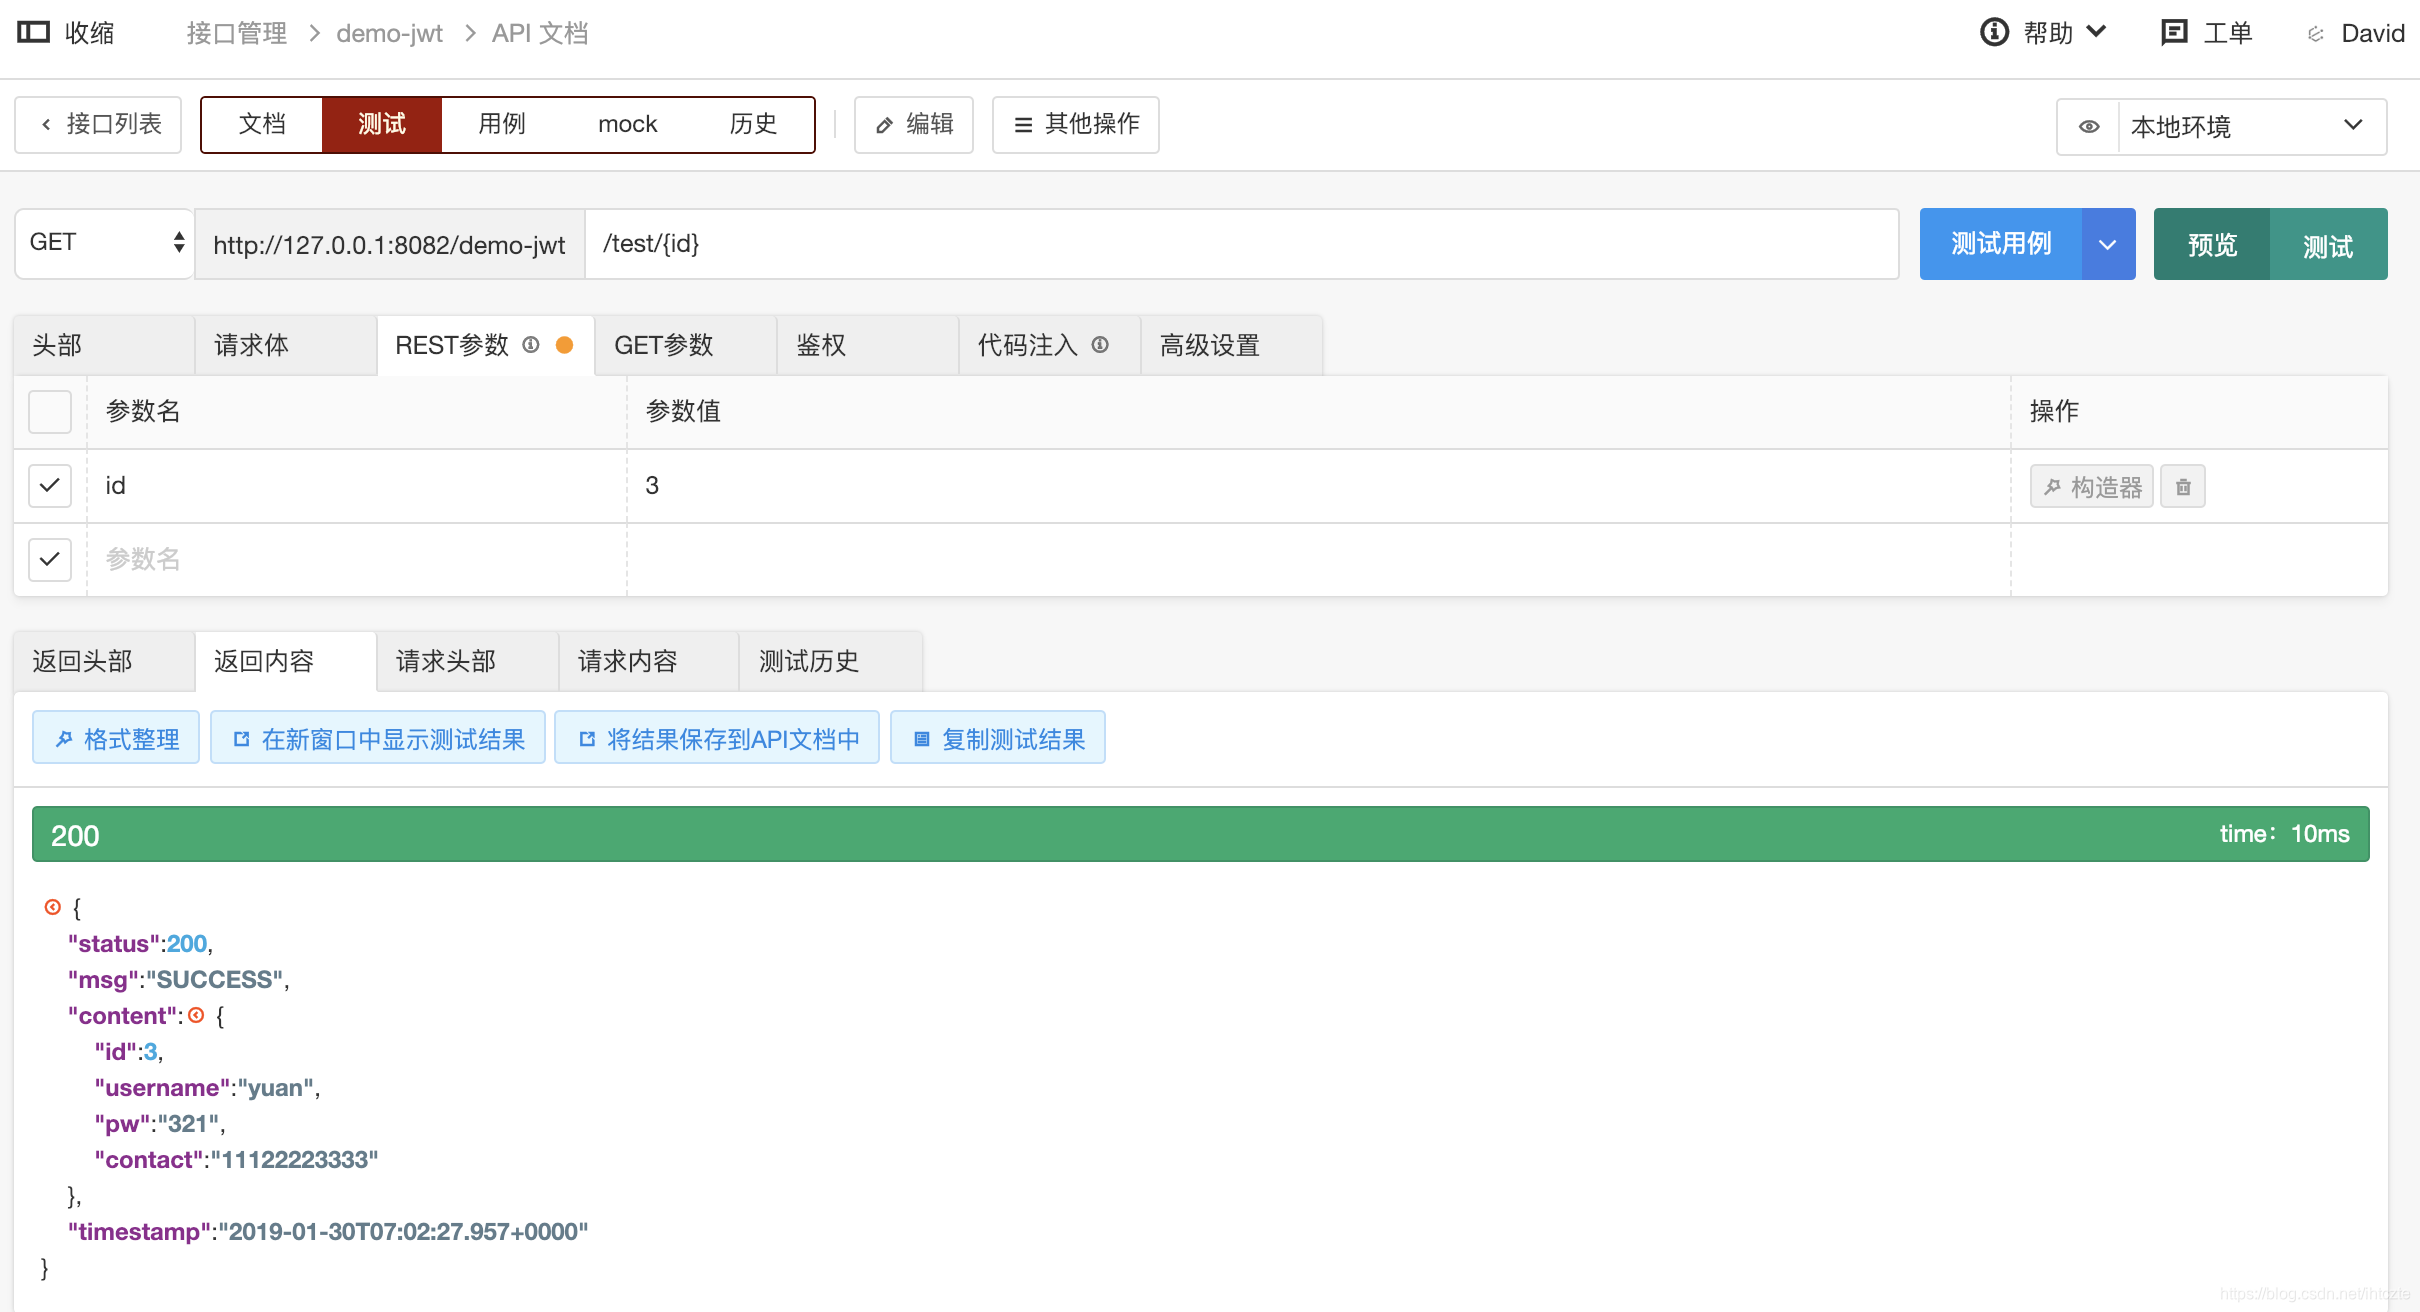
本文主要做了前期准备,先介绍了SpringBoot Security、Jwt、RBAC概念,然后新建一个SpringBoot Security,创建MySQL数据库和表、配置MySQL等等,最终使用test下接口测试Spring Security是否配置正确和数据库是否可用。
具体请参考GitHub项目。
如果觉得我的文章对您有用,请随意打赏。你的支持将鼓励我继续创作!
